


📖 The Story Begins
One common pattern we’ve observed at Nine is that many of our customers run web applications — think content management systems, web shops, dashboards, or custom APIs. These apps often rely on a tried-and-true combination of infrastructure services: a database to persist data, a cache layer for performance, and a server to run the application logic.
With that in mind, the setup we chose here reflects that real-world use case. We’re not just launching a VM or showing off an API (ok, maybe a little 😉). But we’re also simulating the foundational components of what you’d find in production:
A PostgreSQL database to store orders, users, and product data
A Redis key-value store to cache hot data and reduce load times
A CloudServer VM to run the actual application (e.g. web server, backend API, etc.)
The goal is to show how these can be provisioned and managed easily, using our API and tools, in a way that mirrors your own workload and challenges.
As the Head of Engineering at Nine, I’ve witnessed our platform evolve, providing developers with powerful tools to automate infrastructure. One of the most potent tools is our public API, giving you the ability to provision and orchestrate your infrastructure programmatically.
This blog post is not just a tutorial; it’s a story about turning a blank slate into a working, production-like environment. We will build and validate the provisioning of the following infrastructure components:
A PostgreSQL database for persistent storage
A Redis key-value store for high-speed caching
A CloudServer VM that could host any application you choose
Each step is written not just to instruct but to explain, giving context to every decision and command. This post assumes you’re a developer or DevOps engineer who may not yet be familiar with Nine’s API, Ansible, or our CLI tool nctl. We’ll guide you from first principles.
🤖 Why Ansible?
Before we get into the technical weeds, it’s worth discussing the tool we’ll use to glue everything together: Ansible.
Ansible is an automation engine used for configuration management, application deployment, and general infrastructure orchestration. What makes it so popular?
Agentless: Unlike some other tools, you don’t need to install anything on your remote servers. Ansible connects over SSH.
Human-readable YAML syntax: This makes it easy to learn and collaborate on with others.
Dynamic control flow: You can incorporate conditions, variables, loops, and even execute raw shell commands or API calls.
We chose Ansible because it’s great for scenarios like ours: where we want to orchestrate not just the creation of infrastructure, but also follow-up steps like configuration and validation.
You may have heard of OpenTofu or Terraform – these tools excel at declaratively managing infrastructure states. In fact, since we offer a public API, Nine is also fully compatible with Terraform. You can find example configurations in our Terraform examples repository. Ansible, in contrast, is more procedural and event-driven, which suits this use case well where we need more step-by-step control and conditional logic.
🛠️ Setting Up Your Toolkit (macOS)
Our journey begins on a MacBook. We’ll install all the tools we need using Homebrew, the de facto package manager for macOS.
If you’re on Linux, you can follow the Ansible installation guide for Linux and install nctl manually from our GitHub releases.
For Windows users, we recommend using WSL2 (Windows Subsystem for Linux) and then following the Linux instructions above. This allows you to use the same Unix-like tooling and commands without leaving Windows.
Install Homebrew
If you don’t have Homebrew yet, install it with:
/bin/bash -c "$(curl -fsSL https://raw.githubusercontent.com/Homebrew/install/HEAD/install.sh)"
Homebrew lets us easily install other dependencies.
Install Ansible
brew install ansible
Ansible is our primary tool to automate the provisioning, configuration, and validation of infrastructure resources.
Install Nine’s CLI tool: nctl
brew tap ninech/nine
brew install nctl
nctl is Nine’s command-line client. It wraps around our public API and simplifies tasks like creating a VM or database, retrieving secrets, and managing access control. We’ll use it heavily.
Authenticate with Nine’s API
To interact with our API, you’ll need a Bearer token. This token grants authenticated access and is required for both Ansible and nctl.
You can create a service account and retrieve your token either through Cockpit:
👉 https://cockpit.nine.ch/en/customer/api_service_accounts/
Or via the CLI:
Login with your account
nctl auth login
We create an apiserviceaccount named cicd:
nctl create apiserviceaccount cicd
And we retrieve the token for the apiserviceaccount named cicd:
nctl get apiserviceaccounts cicd --print-token
Once you have your token, export it as an environment variable:
export NINE_API_TOKEN="<your-token>"
And don’t forget to export your SSH public key too. We’ll need it to access the VM later:
export SSH_PUBLIC_KEY="$(cat ~/.ssh/id_ed25519.pub)"
🛡️ You should always treat your API token like a password. Don’t hardcode it in files.
📊 Project Structure
To keep things tidy, let’s create a project directory and define our reusable configuration.
mkdir nine-infra && cd nine-infra
Group Variables
Ansible allows us to keep variables in one place using group vars. Create the folder with:
mkdir group_vars
Here’s what group_vars/all.yml could look like:
## group_vars/all.yml
postgres_name: example-postgres
postgres_version: 15
redis_name: example-redis
vm_name: example-vm
location: nine-cz41
machine_type: nine-small-1
os: ubuntu24.04
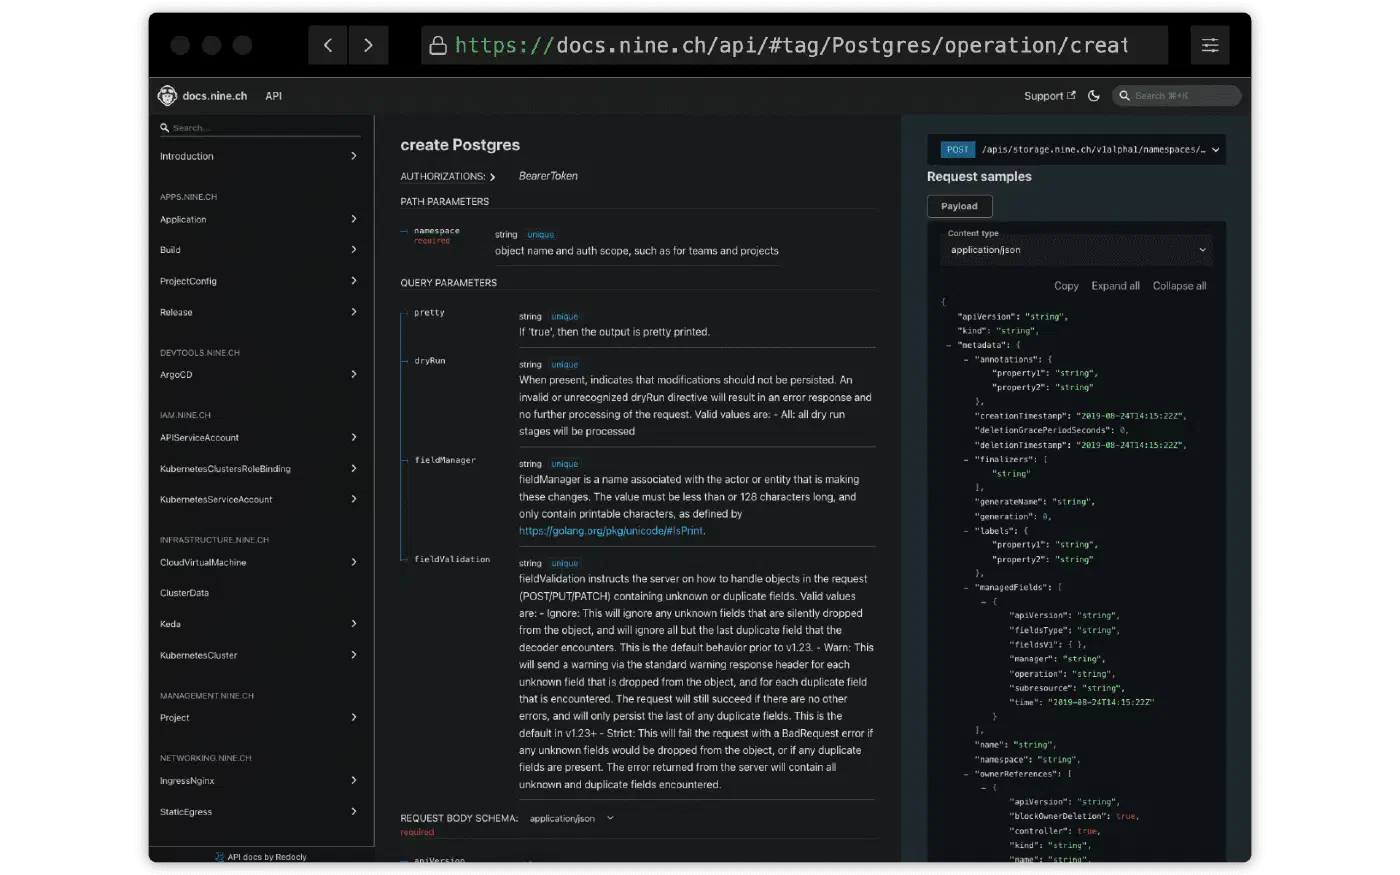
This makes our playbooks more readable and makes it easier to reuse or update settings. You can of course adjust the values here — such as the OS version, machine type, or service versions — depending on your needs. To discover which values are supported, you can use the documentation we provide for our API:
🔺 Step 1: Provision PostgreSQL
To provision a managed PostgreSQL instance, we’ll use nctl within an Ansible playbook. This ensures the database is consistently created with our desired configuration.
Create the following file and save it as provision_postgres.yml:
provision_postgres.yml
name: Provision PostgreSQL hosts: localhost gather_facts: false
vars_files:
- group_vars/all.yml
tasks:
name: Check if PostgreSQL already exists ansible.builtin.shell: “nctl get postgres {{ postgres_name }}” changed_when: false failed_when: false register: pg_exists
name: Create PostgreSQL ansible.builtin.command: > nctl create postgres {{ postgres_name }} –postgres-version {{ postgres_version }} –machine-type nine-db-xs –location {{ location }} –allowed-cidrs 0.0.0.0/0 –wait changed_when: “pg_result.rc == 0” ignore_errors: true when: “pg_exists.rc != 0” register: pg_result
name: Get PostgreSQL connection string ansible.builtin.command: “nctl get postgres {{ postgres_name }} –print-connection-string” register: pg_conn_str changed_when: “pg_conn_str.rc != 0”
name: Set Postgres connection string fact ansible.builtin.set_fact: postgres_conn_string: “{{ pg_conn_str.stdout }}/postgres”
    - name: Debug Postgres connection string
      ansible.builtin.debug:
        var: postgres_conn_string
Run it using:
ansible-playbook provision_postgres.yml
Be aware: This step may take some time to complete.
First up is our database. A PostgreSQL instance gives us a durable, reliable data store. It’s a common backend choice for modern apps.
We use nctl to create the instance, and then immediately retrieve its connection string so we can use it later.
✅ Validation:
Use the connection string to confirm the instance is reachable:
psql <postgres_connection_string>
If the connection succeeds, you’re ready to move on. Keep in mind that the creation of a DB can take some time since we always provision a dedicated database. Soon we will offer Shared DBs as well which will speed up that scenario by a lot. Also please be aware that we – for simplicity reasons of this blog post – did allow 0.0.0.0/0 to access all our services. I do recommend you to not set up your infrastructure in this way.
🔺 Step 2: Provision Redis
Redis will act as our key-value store. Just like PostgreSQL, we’ll use an Ansible playbook to automate its provisioning.
Create the following file as provision_redis.yml:
provision_redis.yml
name: Provision Redis hosts: localhost gather_facts: false
vars_files:
- group_vars/all.yml
tasks:
name: Check if Redis already exists ansible.builtin.shell: “nctl get keyvaluestore {{ redis_name }}” changed_when: false failed_when: false register: redis_exists
name: Create Redis ansible.builtin.command: > nctl create keyvaluestore {{ redis_name }} –memory-size 1Gi –location {{ location }} –allowed-cidrs 0.0.0.0/0 –wait changed_when: “redis_result.rc == 0” ignore_errors: true when: “redis_exists.rc != 0” register: redis_result
name: Get Redis connection info ansible.builtin.command: nctl get keyvaluestore {{ redis_name }} -o yaml register: redis_info changed_when: “redis_info.rc != 0”
name: Parse Redis connection info ansible.builtin.set_fact: redis_host: “{{ redis_info.stdout | from_yaml | json_query(‘status.atProvider.connection.address’) }}” redis_password: “{{ redis_info.stdout | from_yaml | json_query(‘status.atProvider.connection.password’) }}”
    - name: Debug Redis details
      ansible.builtin.debug:
        msg: "Redis host: {{ redis_host }}, password: {{ redis_password }}"
Run it using:
ansible-playbook provision_redis.yml
Be aware: This step may take some time to complete.
Next, we spin up a Redis key-value store. Redis is often used for caching, session storage, rate limiting, or pub/sub. It’s fast and memory-based.
We again use nctl to create it, then extract the address and password from the YAML output.
✅ Validation:
Try connecting to Redis using the CLI:
redis-cli -h <redis_host> -a <redis_password>
If the response is PONG, you’re good to go.
🔺 Step 3: Provision Cloud VM
With the database services in place, let’s bring up the virtual machine that will act as our compute node. This VM can later be configured to host applications or scripts.
Save the following playbook as provision_vm.yml:
provision_vm.yml
name: Provision Cloud VM hosts: localhost gather_facts: false
vars_files:
- group_vars/all.yml
tasks:
name: Check if VM already exists ansible.builtin.shell: “nctl get cloudvirtualmachine {{ vm_name }}” changed_when: false failed_when: false register: vm_exists
name: Create VM using nctl (wait until ready) ansible.builtin.command: > nctl create cloudvirtualmachine {{ vm_name }} –hostname {{ vm_name }} –location {{ location }} –machine-type {{ machine_type }} –os {{ os }} –public-keys “{{ lookup(’env’, ‘SSH_PUBLIC_KEY’) }}” –wait changed_when: “vm_create_output.rc == 0” ignore_errors: true when: “vm_exists.rc != 0” register: vm_create_output
    - name: Show VM creation output
      ansible.builtin.debug:
        var: vm_create_output.stdout_lines
      when: "vm_exists.rc != 0 and vm_create_output.rc == 0"
Then apply it with:
ansible-playbook provision_vm.yml
Be aware: This step may take some time to complete.
Now let’s bring up the virtual machine. This will be our compute layer — where your app (or anything else) can run.
We’ll use nctl again, this time to provision a VM with your preferred OS image and SSH key.
✅ Validation:
Log in via SSH:
ssh root@<vm_ip>
This confirms that the server is alive, reachable, and ready for configuration.
🧩 Putting it all together
🔚 Wrapping Up
We’ve now laid the groundwork for a complete cloud-native deployment:
A secure, managed PostgreSQL instance
A fast Redis service ready for caching or queues
A fully provisioned and reachable virtual machine
All provisioned step-by-step via Ansible and Nine’s CLI and API — no manual clicking, no guessing.
From here, you can begin configuring your app, deploying code, and scaling out your architecture – all documented in code and easily accessible.
