Managed Kubernetes
Built on open standards with no vendor lock-in, NKE is CI/CD & DevOps-ready out of the box, so your …
Built on open standards with no vendor lock-in, NKE is CI/CD & DevOps-ready out of the box, so your …

Our Managed Servers run on fast NVMe SSD storage and support PHP, Node.js, Python, Ruby, MySQL, …
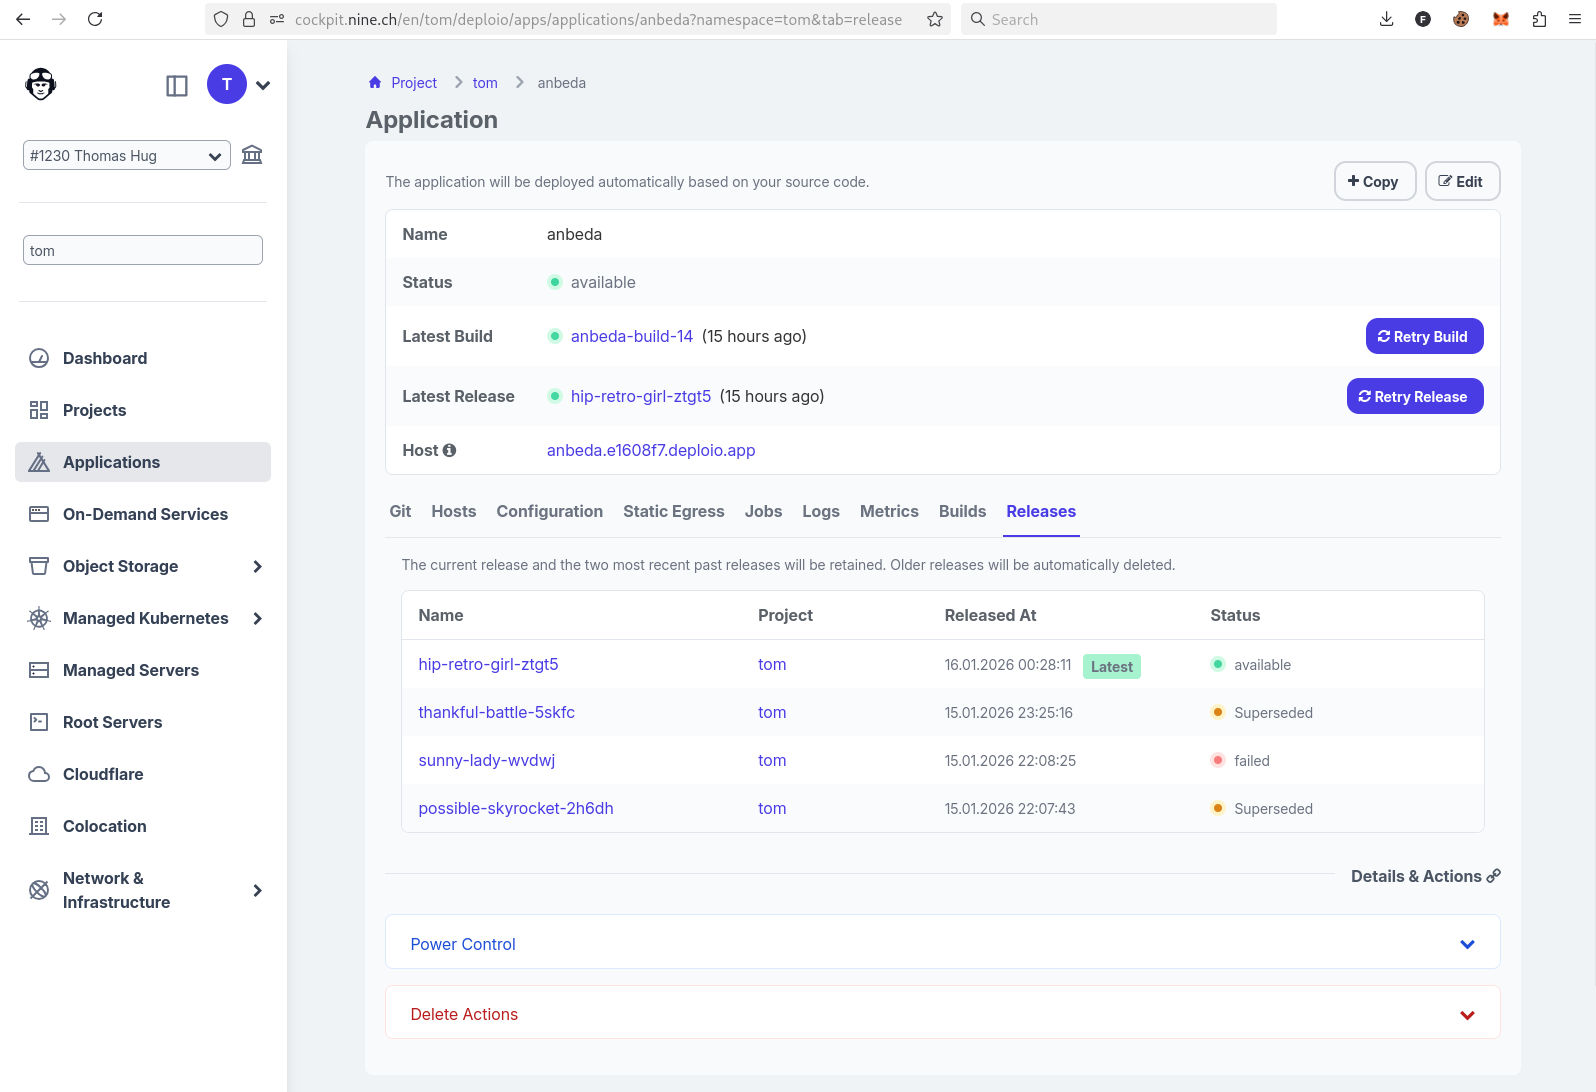
Deploio is our fully managed Swiss app engine and PaaS with built-in CI/CD that auto-deploys on …

Using our Root Dedicated Servers, you benefit from our powerful infrastructure on two independent …

Choose from multiple NVIDIA GPU models with thousands of CUDA cores and dedicated Tensor Cores built …

MySQL, MariaDB, PostgreSQL or Redis-compatible Key Value Store – as a fully managed DBaaS hosted in …

Our SLAs give you binding incident response times, service credits if we don't deliver, and access …

Your data stays in Switzerland with full data residency guarantees, free from the CLOUD Act and …

House your hardware in our Zurich facilities with 99.9% uptime SLA, backed by 2N redundant power at …

Our managed in-memory data stores accelerate your read-heavy workloads by keeping frequently …

Our Managed Shibboleth gives you enterprise-grade authentication with fine-grained attribute release …

Our Managed Solr runs on SolrCloud architecture for distributed, highly available search across your …

Our Managed OpenSearch gives you a production-ready search and analytics platform with built-in …

Our vClusters give each team their own API server and dedicated control plane with RBAC (role-based …
Our Cloudflare integration protects your applications with machine learning-powered threat detection …

Security is an integral part of how we design and operate secure cloud infrastructure and services. …

Cluster upgrades three times a year, observability, secret management, network policies: Kubernetes …
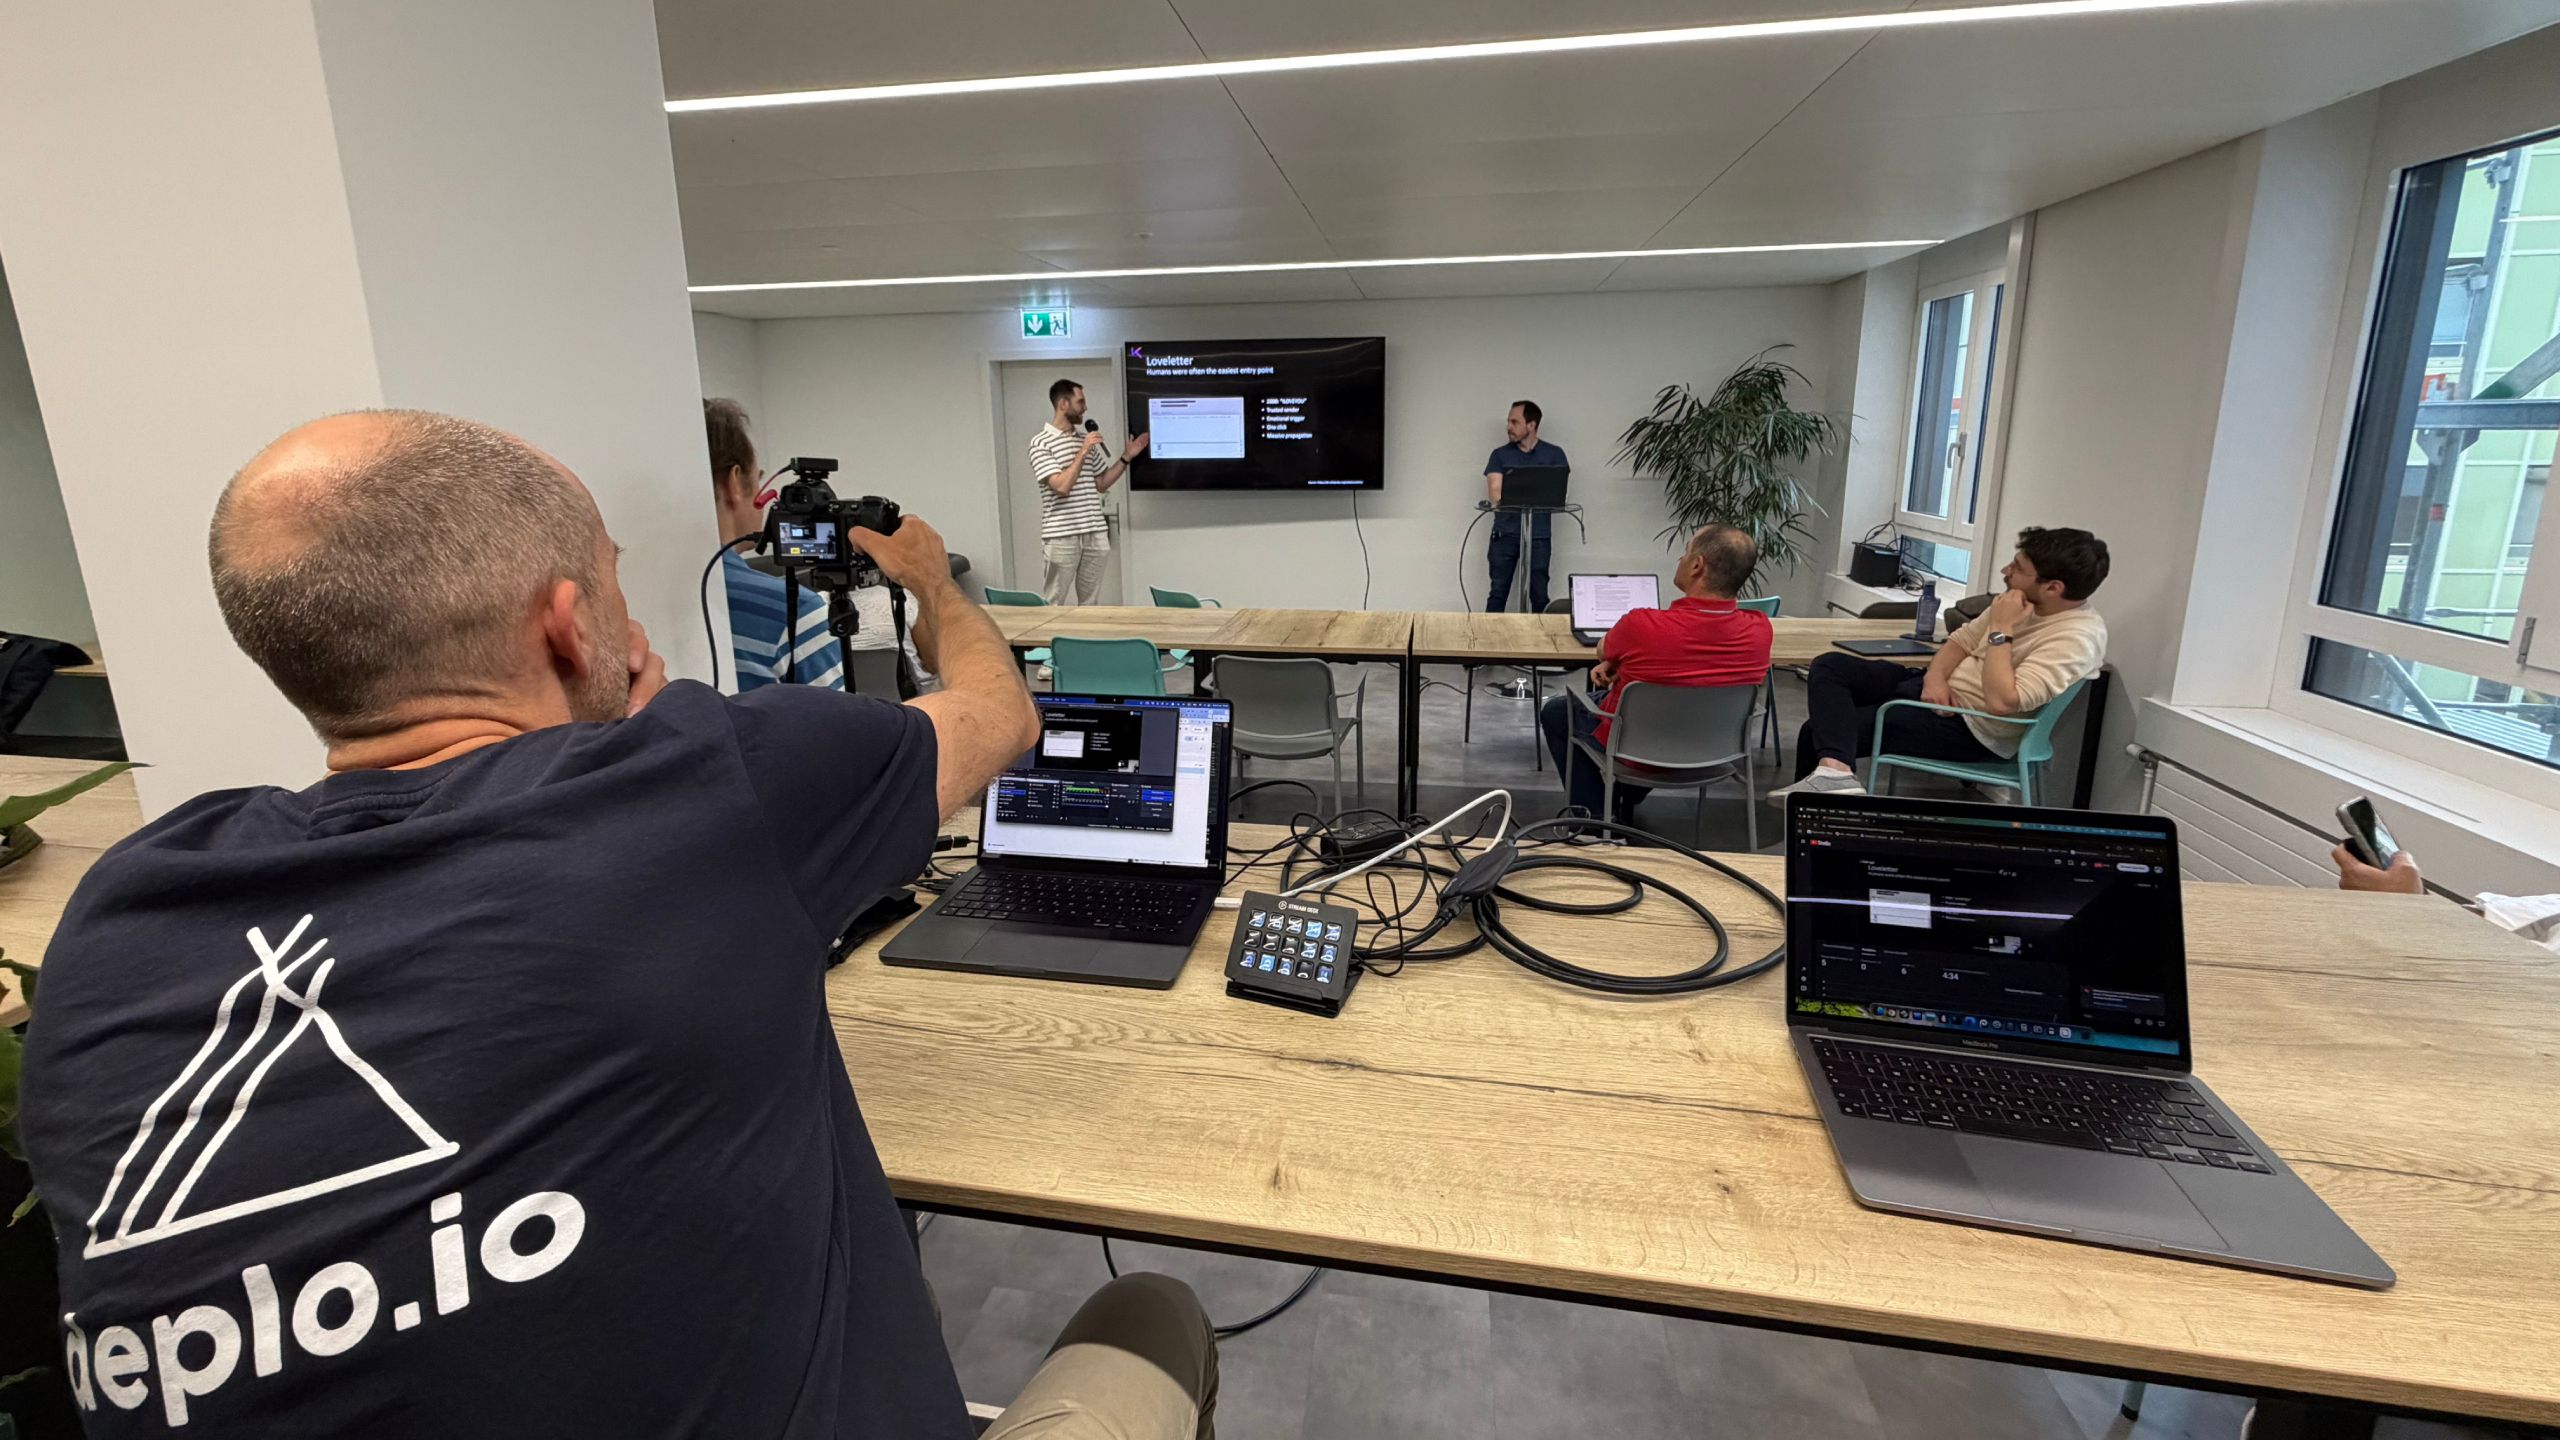
At TechTalk #28 we explored non-human identities as an attack surface, navigating complexity in …
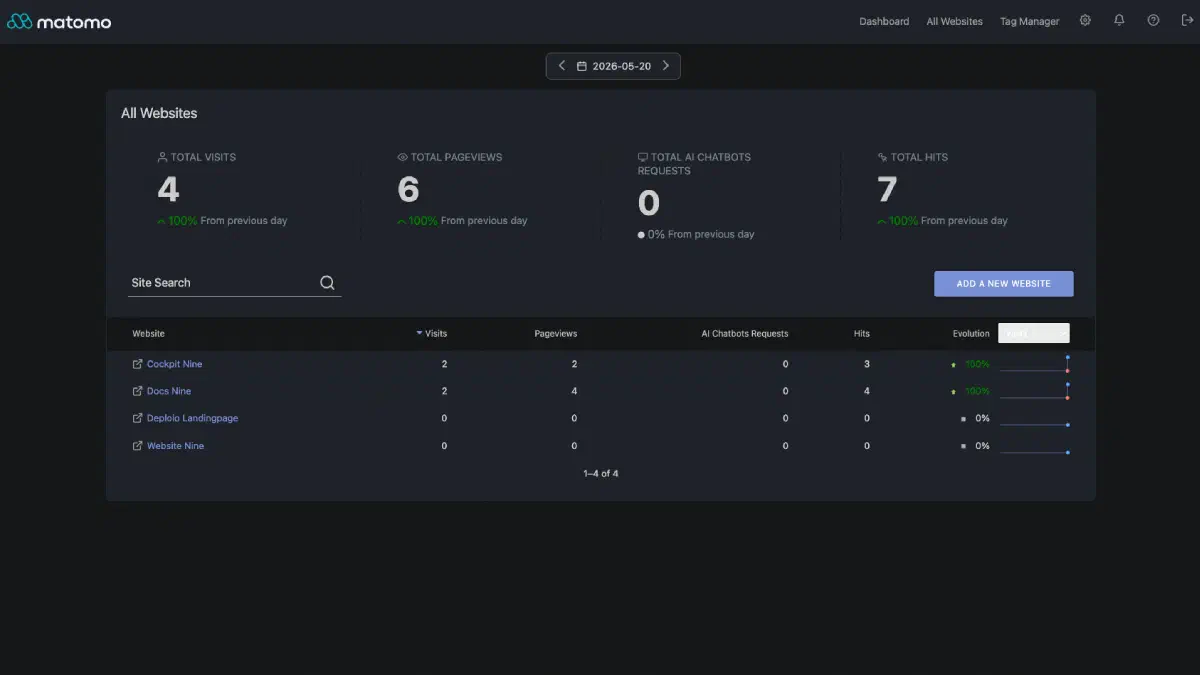
We replaced Google Analytics with a self-hosted Matomo instance running on our own infrastructure in …

On April 30, 2026, a 0-day in the Linux kernel was disclosed: root with a few lines of Python, and …

CLOUD Act, data sovereignty and AI compliance: why Swiss companies shouldn't run their LLM workloads …
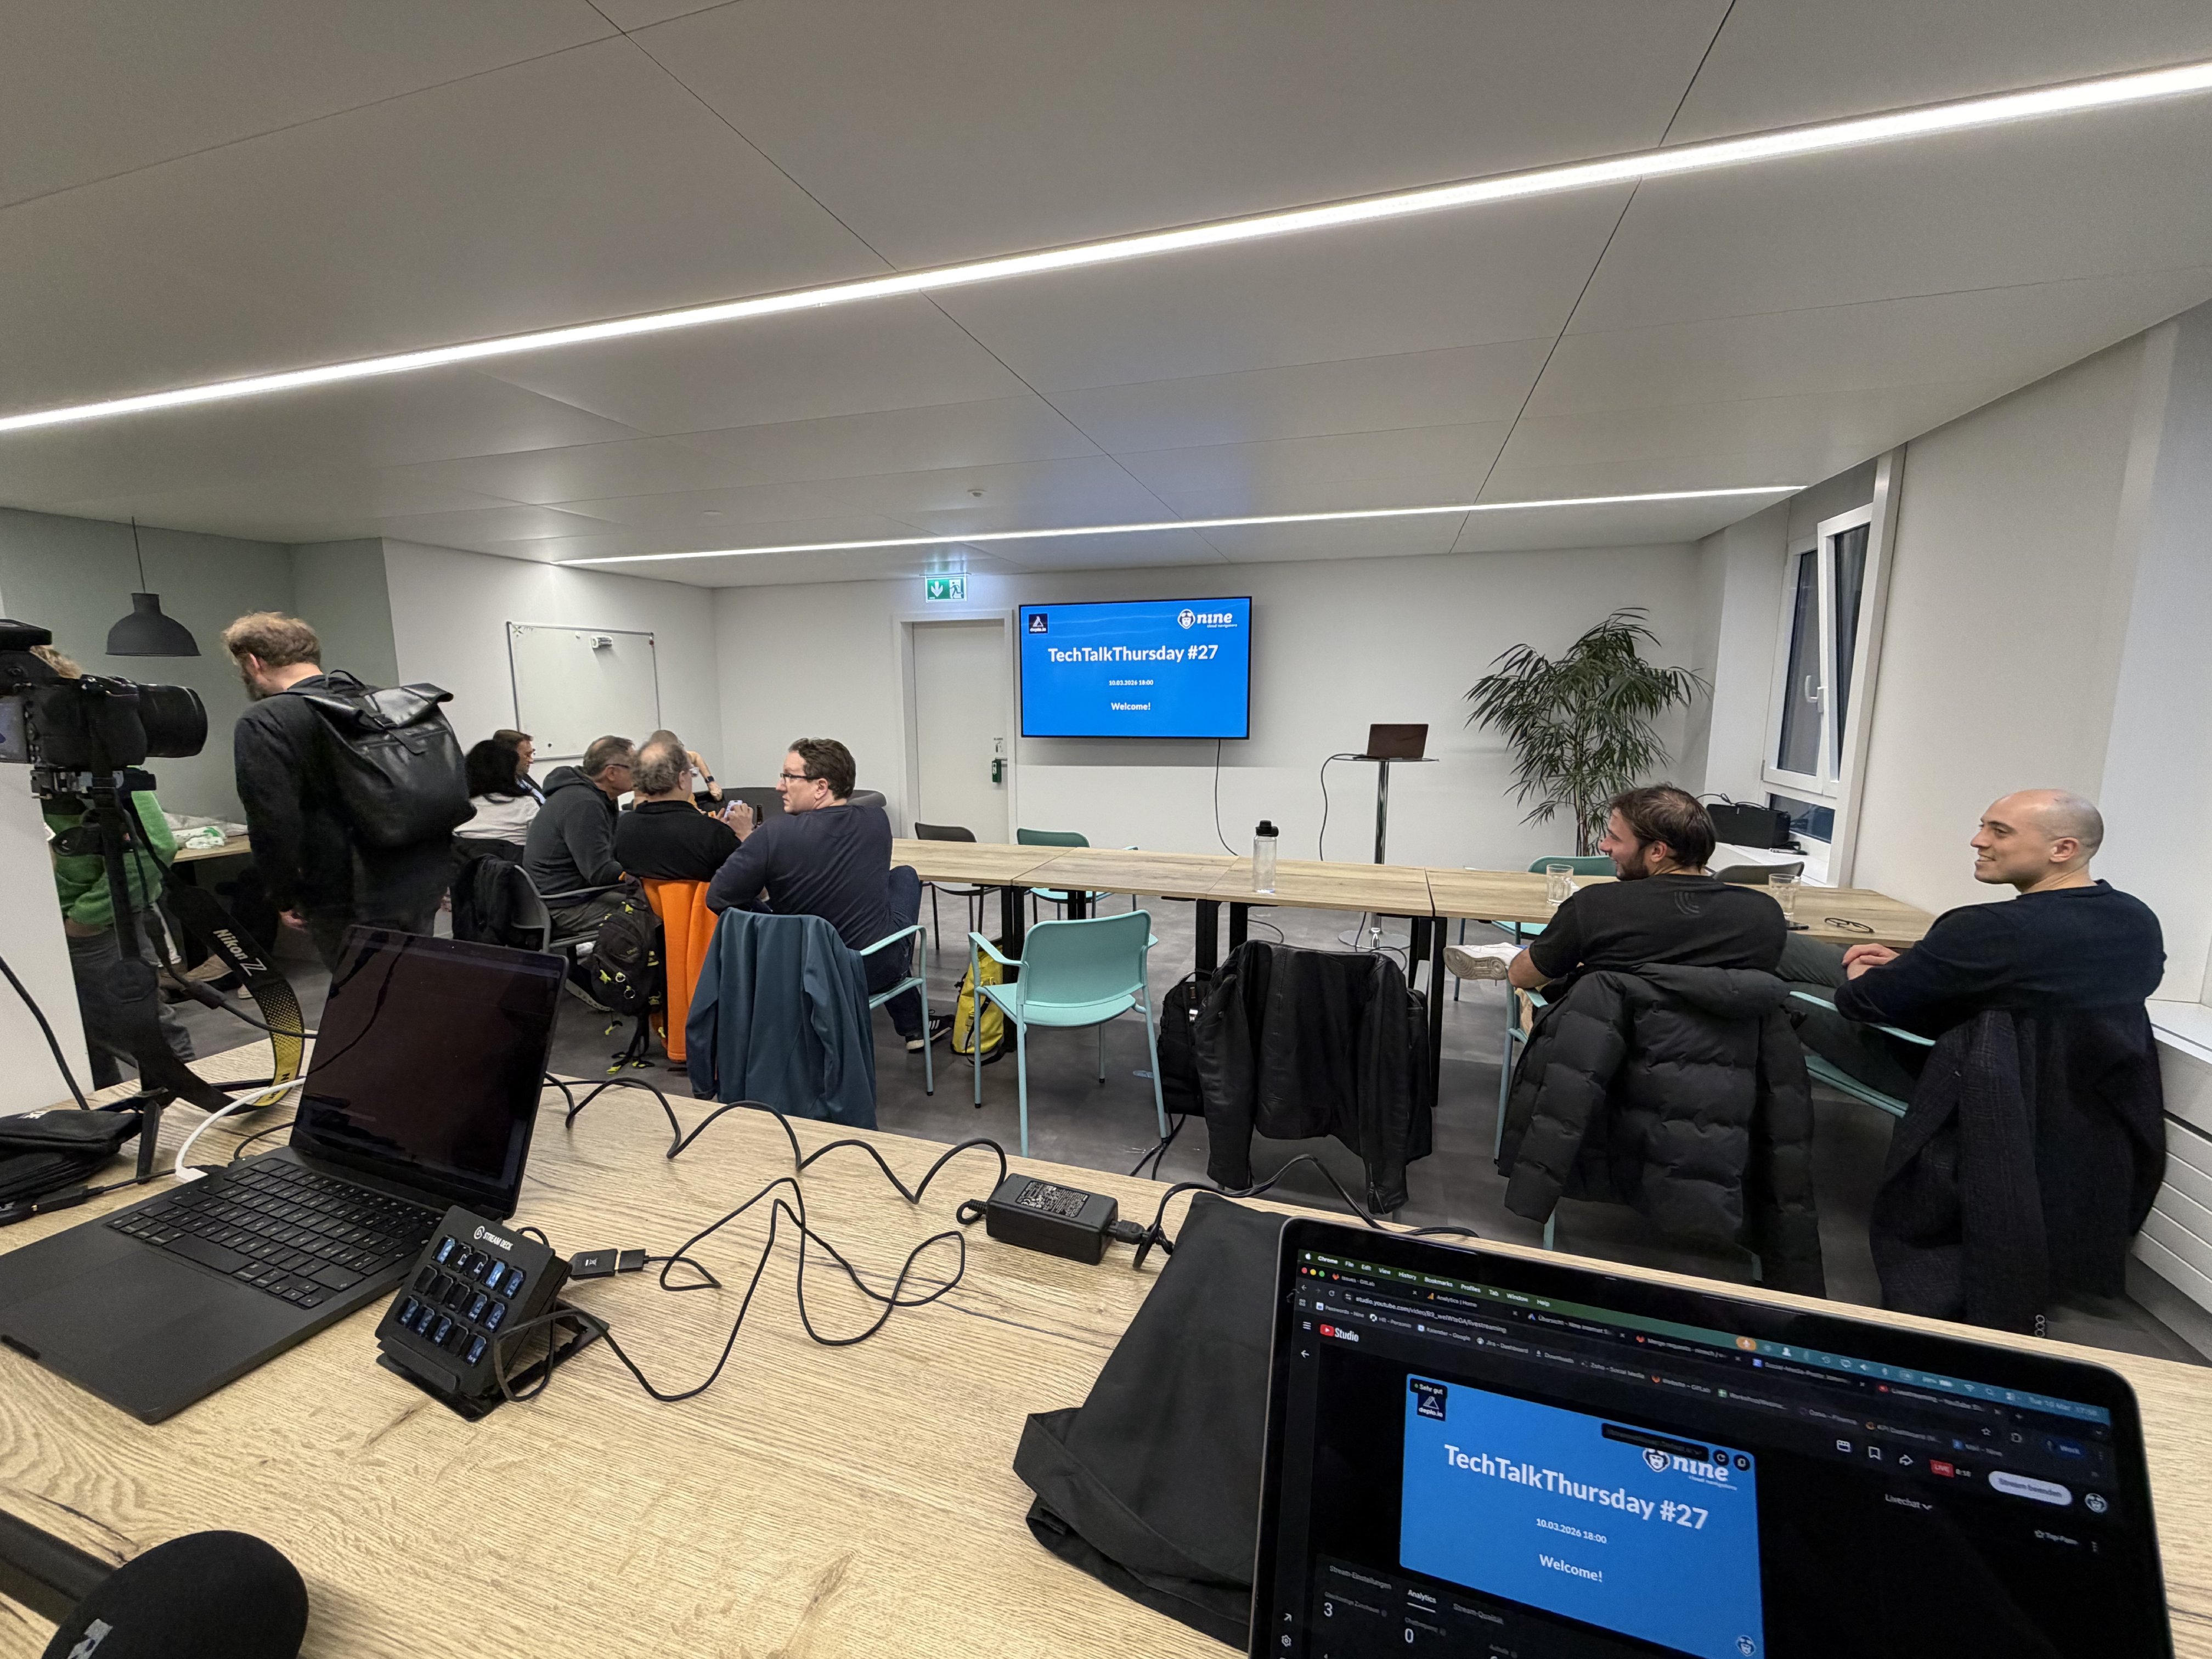
Our first TechTalkThursday of 2026 – number 27 in our event series – took place on the 10th of March …
One Slack message, a seamless migration – and finally cloud hosting from Switzerland. How Renuo …
An old Angular 4 app that's been running on a server since 2017 – one that should have been updated …

We migrated our website from WordPress to Hugo. In this article, we explain why we made this move …
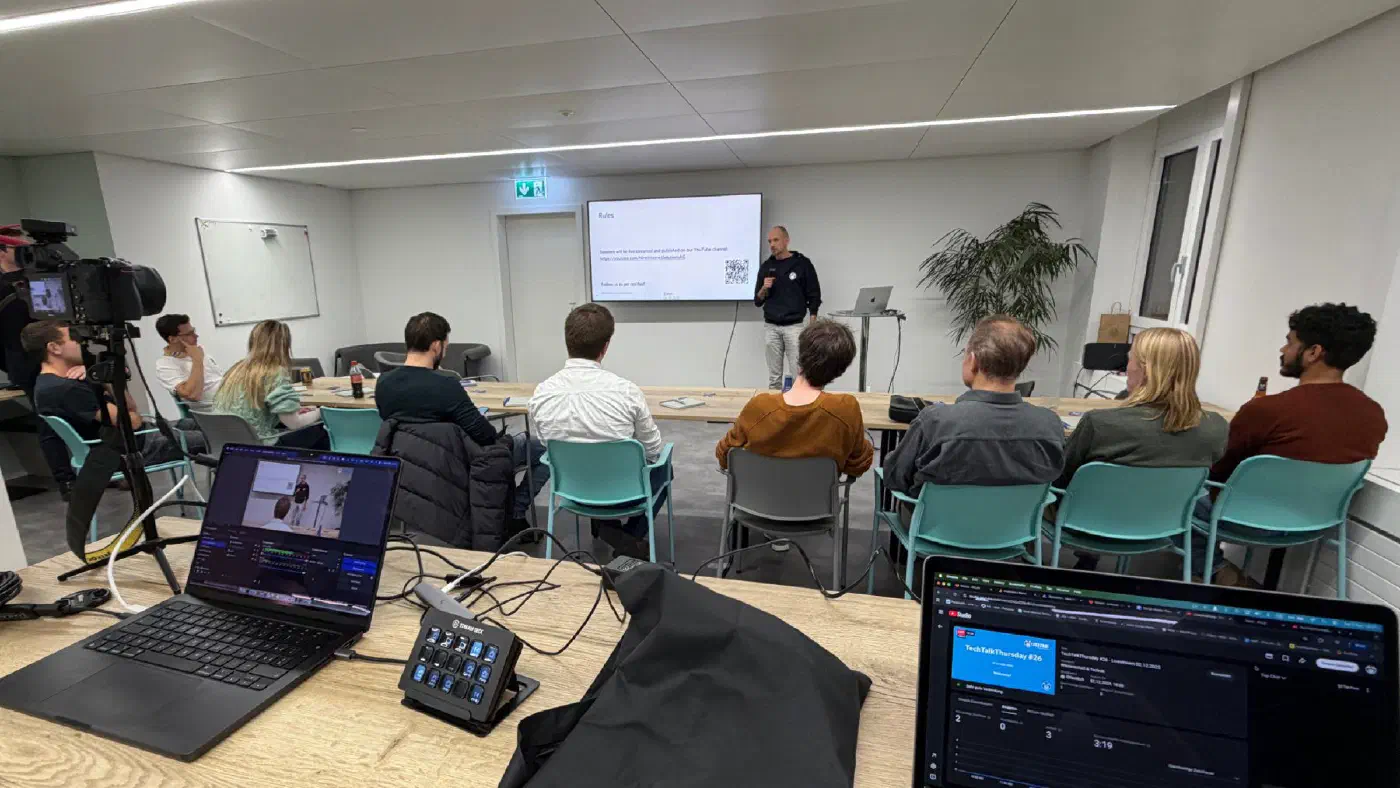
Our fourth and last TechTalkThursday in 2025 – it was number 26 of our event series – took place on …
We're currently working on a proper strategy relating to the upcoming retirement of the …

In the digital world, server security is not a “nice-to-have” but one of the cornerstones of a …

Our third TechTalkThursday in 2025 – it was number 25 of our event series – took place on the 4th of …
«Digitalisation is the path to a sustainable future.» This statement applies in many areas – but it …

Our second TechTalkThursday this year was number 24 of the event series and took place on the 5th of …

Data protection is no longer just a «nice to have». For many organisations, it has become an …

One common pattern we've observed at Nine is that many of our customers run web applications — think …

The first TechTalkThursday in 2025 – and number 23 of the event series – took place on the 6th of …
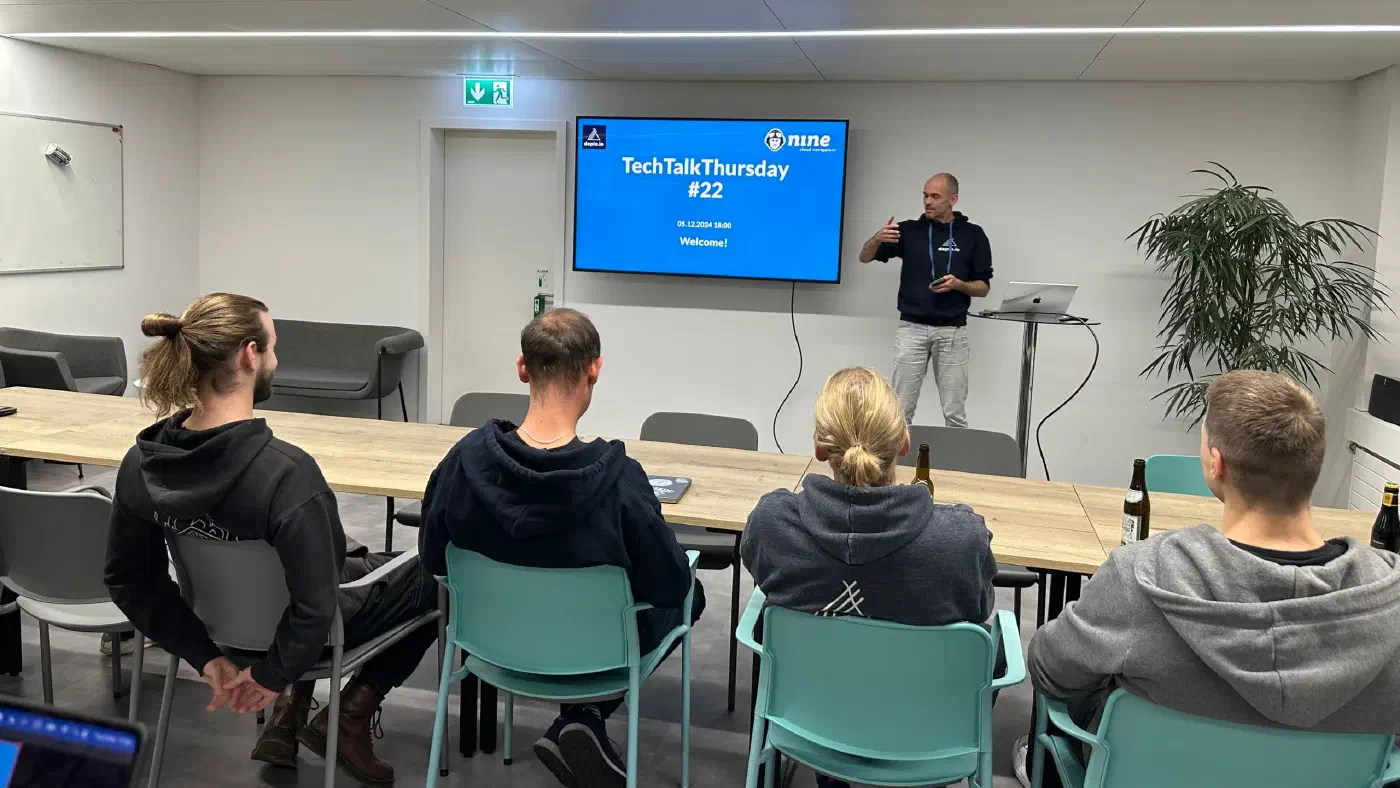
Our TechTalkThursday #22 took place on the 5th of Dezember 2024 at 18:00 in our office. We were …
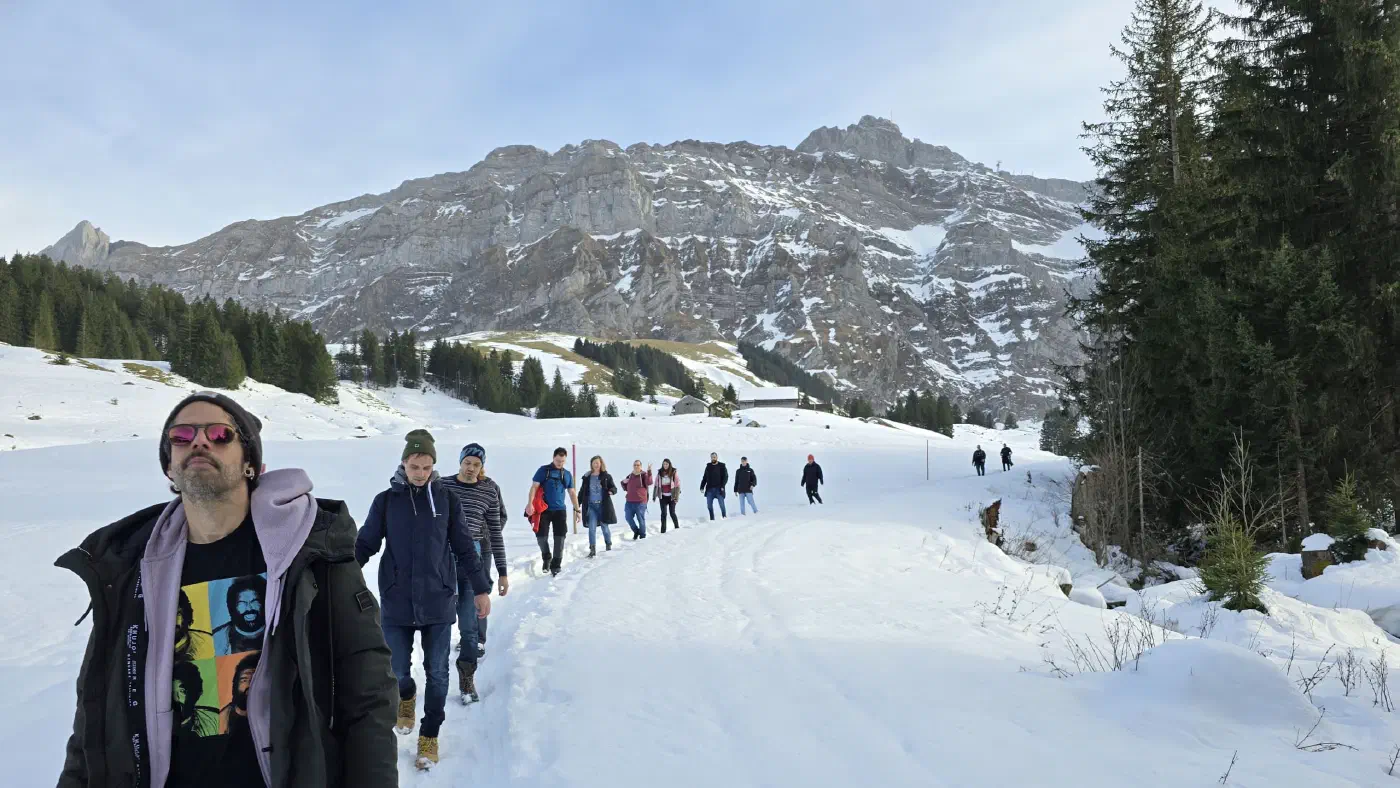
With the first snow, we were enticed by the mountains: Our coworking retreat took place at the base …
Web development has evolved significantly, with numerous tools and frameworks streamlining the …

Every company wants its products and services to be seen. This requires a marketing professional who …

In today’s rapidly evolving tech landscape, modern systems like Kubernetes are often seen as the …
At Nine, we’ve been hard at work refining Deploio, our platform for deploying applications with …
Every company needs someone with a flair for numbers. An expert who has debtors and creditors under …
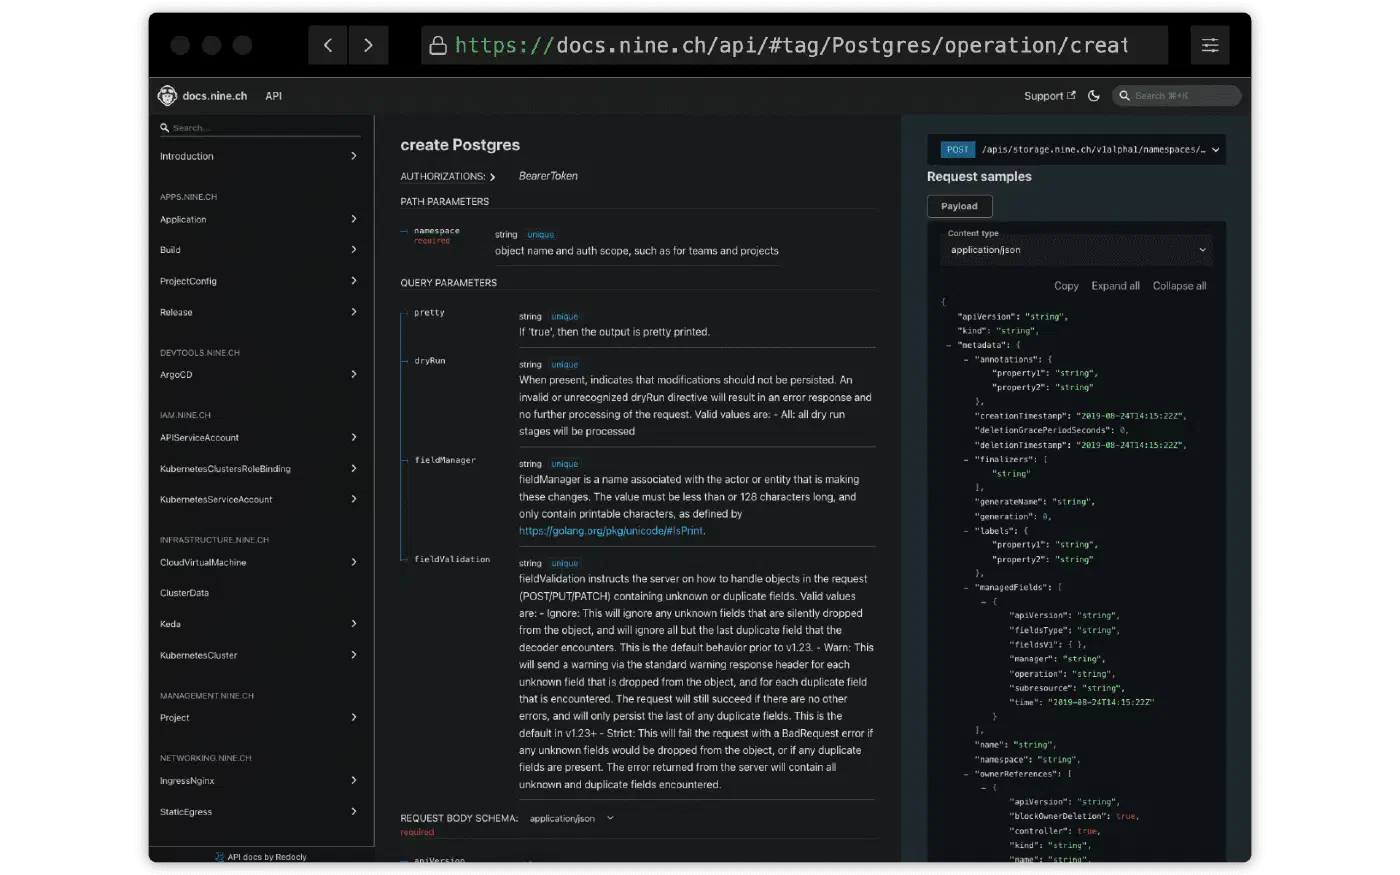
Our on-demand MySQL and PostgreSQL databases are now available for your production workloads. Let's …
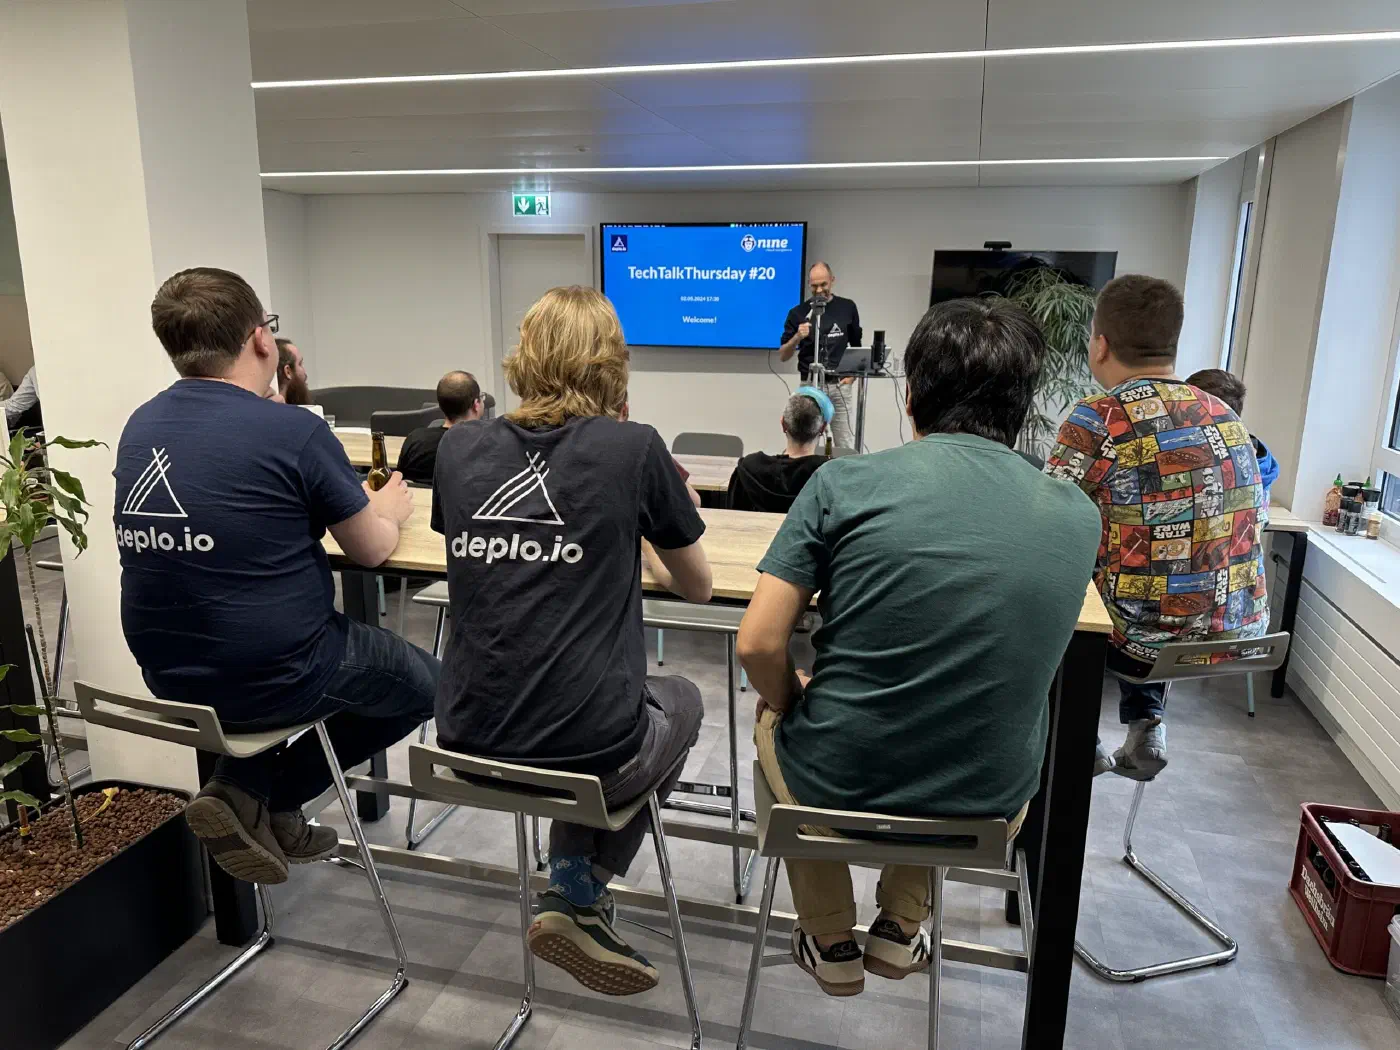
Our TechTalkThursday #20 took place on the 2nd of May 2024 at 18:00. We were happy to welcome two …

A virtual cluster is a fully working Kubernetes cluster that runs on top of another Kubernetes …

In today's web applications, search functions are omnipresent. Searching for product titles or …

As you may have noticed, our v1 S3 product has officially been deprecated, and the migration to v2 …
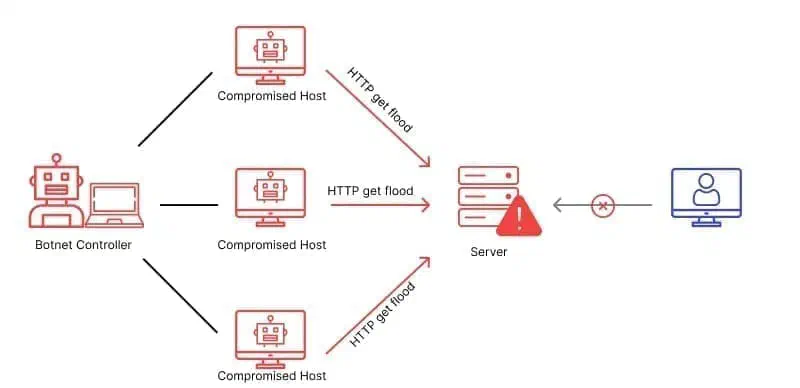
What is HTTP? HTTP, the Hypertext Transfer Protocol, is the 'language' that your web browser and …
No company can run efficiently without customer support. This is no different at Nine: every day, we …

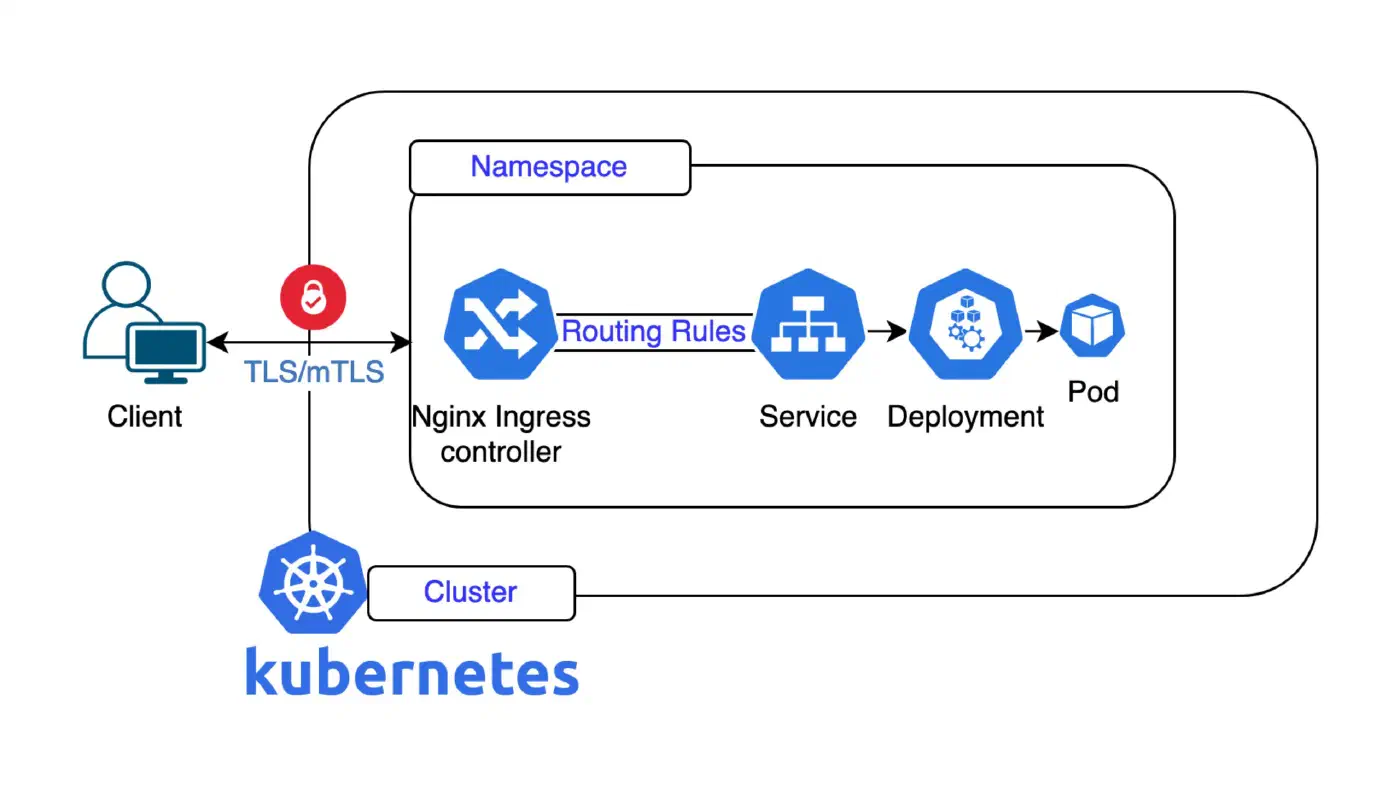
When talking to people about migrating their applications to Kubernetes, there are often questions …
Today we’re lifting the curtains and are thrilled to present: Deploio, our Swiss-made, next-gen app …
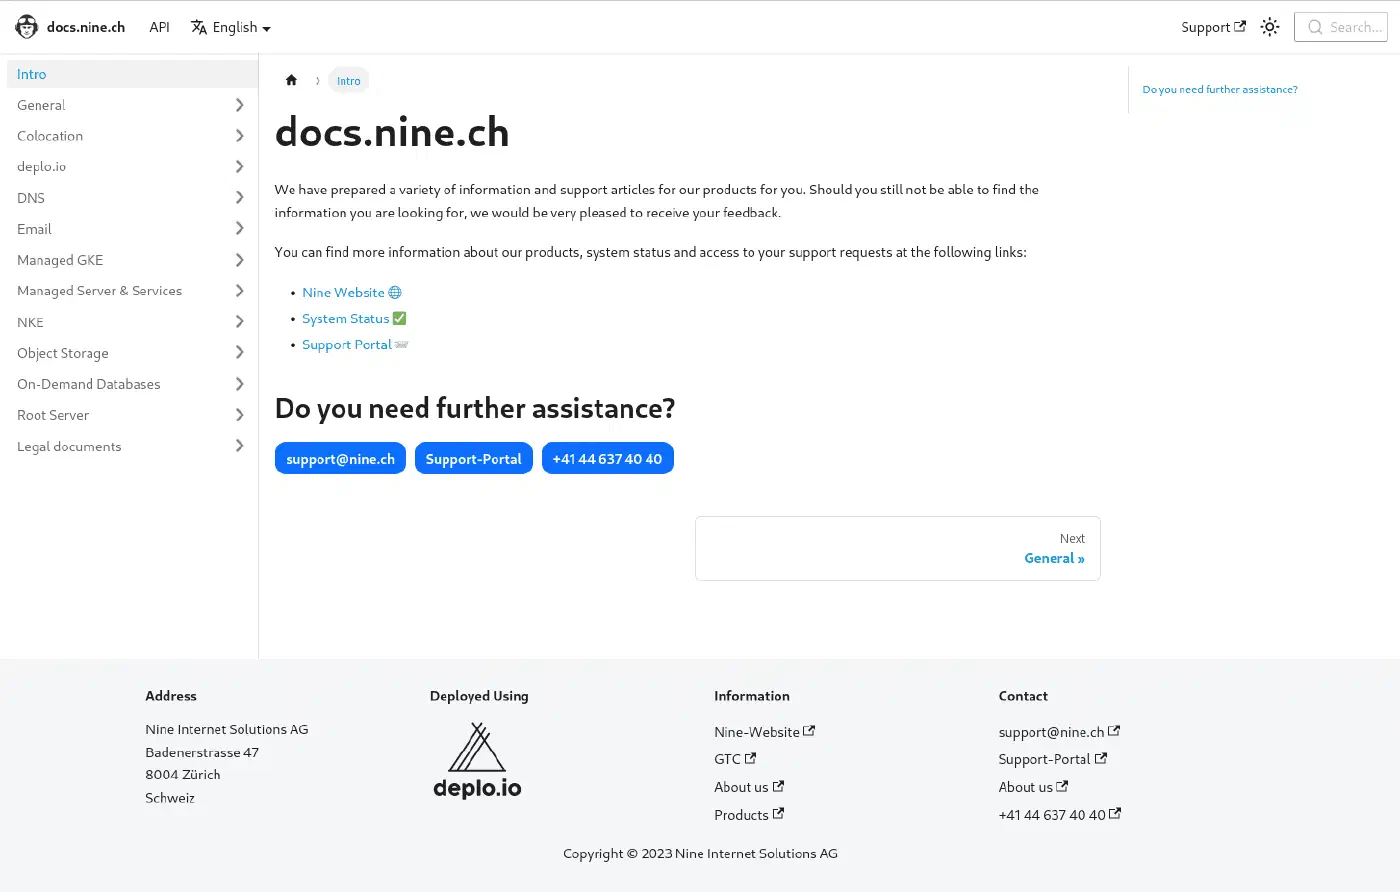
Our previous support page had lost its luster over the years. Originally developed in-house using …

The new federal Act on Data Protection (nFADP) will take effect in Switzerland from 1 September …
As more developers get familiar with deploying to Kubernetes, the need for better isolation between …

Modernise your web services with our new API and CLI tools. At Nine, we're always looking for …

As we launch our API we want to give some technical insights on how we got here and what can be …

Elasticsearch/OpenSearch and Solr are among the most popular and powerful open source search …

Three growth challenges digital agencies face as they scale, and how to overcome them Digital …

Having the reliability and mature APIs of global-scale cloud providers offers the possibility of a …

Self-service has become ubiquitous beyond the IT sector. Nevertheless, self-service cannot solve …
apfelkiste.ch is one of Switzerland’s biggest online shops. In 2020, it saw a turnover of 60 m Swiss …
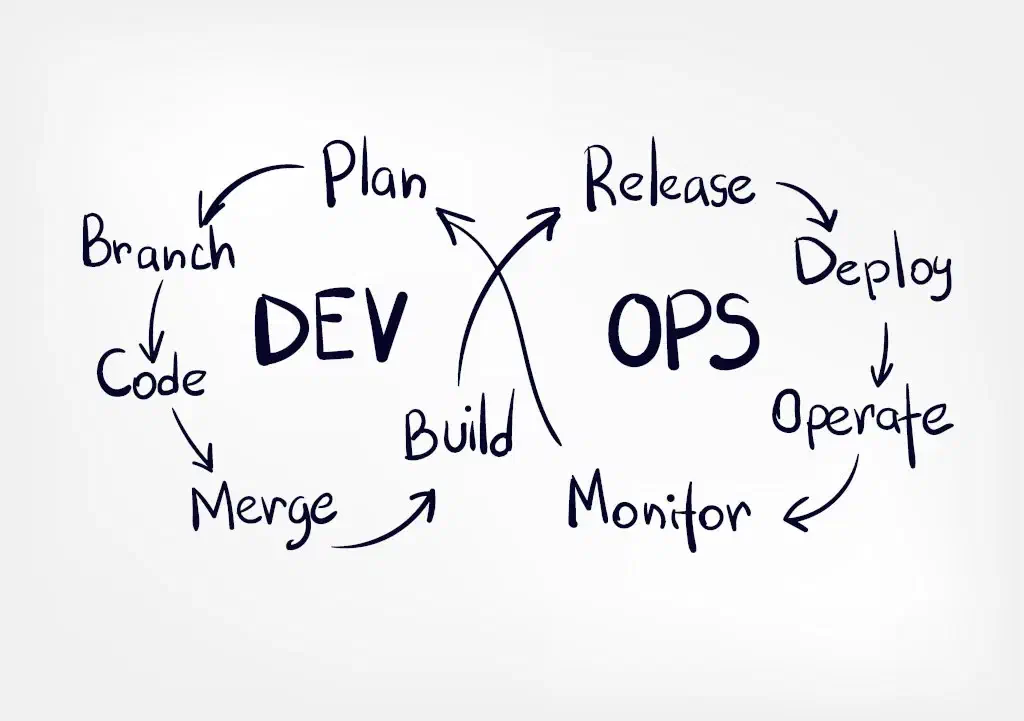
When development and operations are in tension, separate teams, each with their own self-image and …

The biggest cloud migration challenges in 2021 One thing that we often hear at nine, being a Managed …
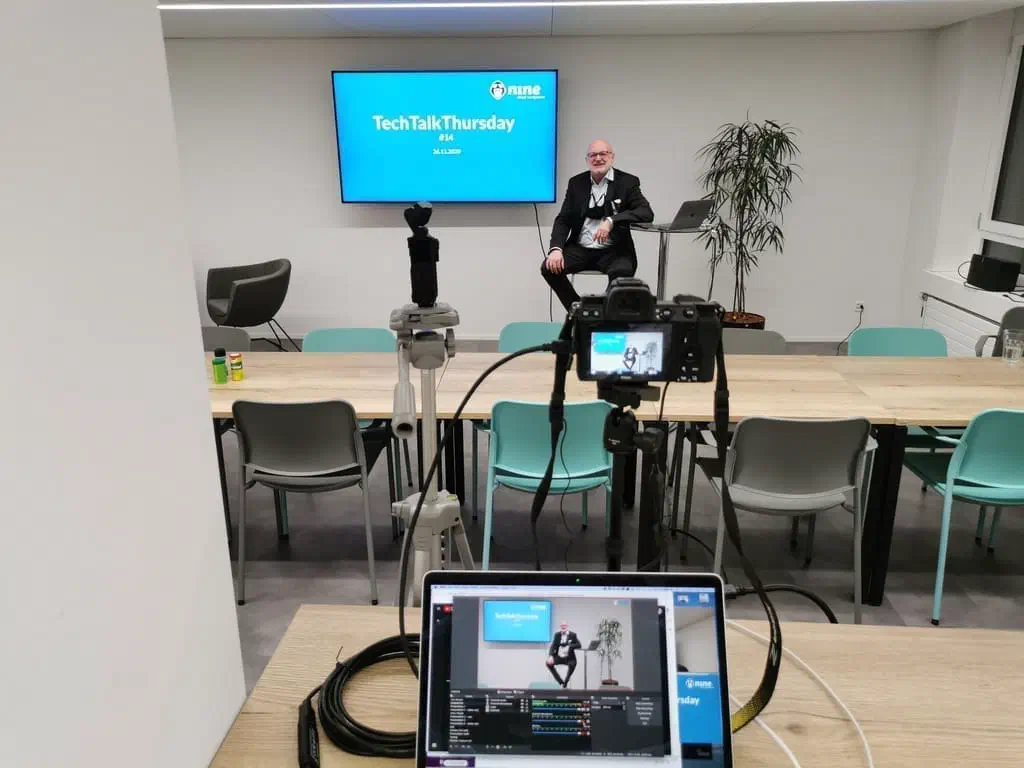
Our TechTalkThursday #14 took place on the 26th of November 2020 at 18:00. Due to local …
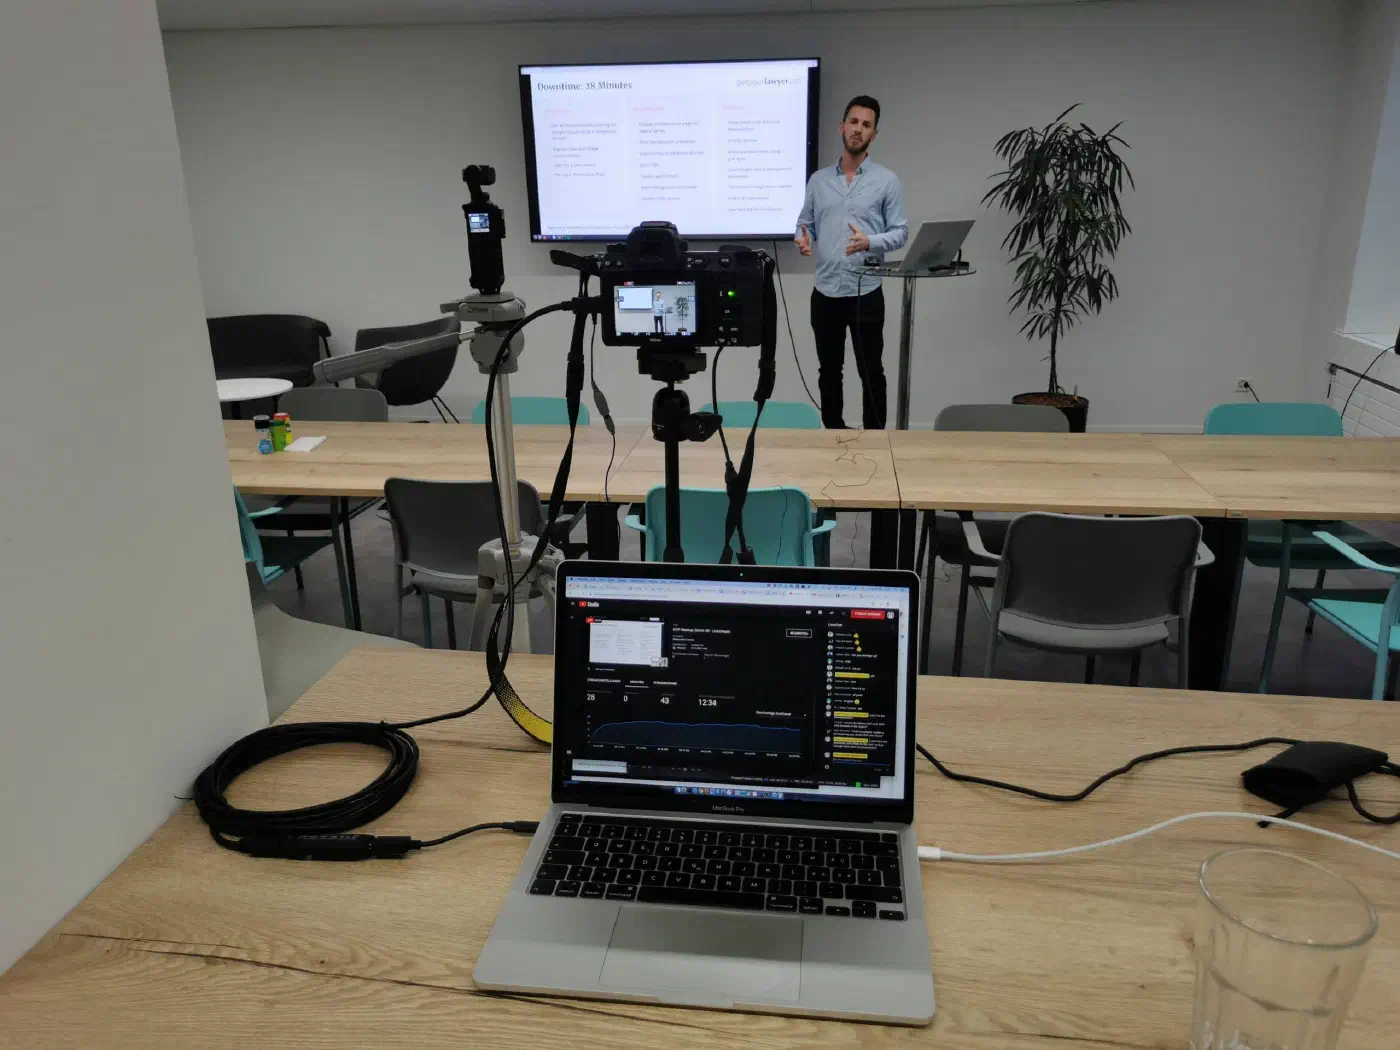
The Google Cloud Meetup #6 took place on November 10, 2020 in Zürich City in the cafeteria of nine. …

Announcing: The newest Ubuntu distribution-release is now available for our “Managed Servers”. New …
Our TechTalkThursday took place on the 1st of October at 18:00. We had with only 15 participants …
Besides our normal TechTalkThursdays in the evening, we tried new times during lunch and at 08:00 in …
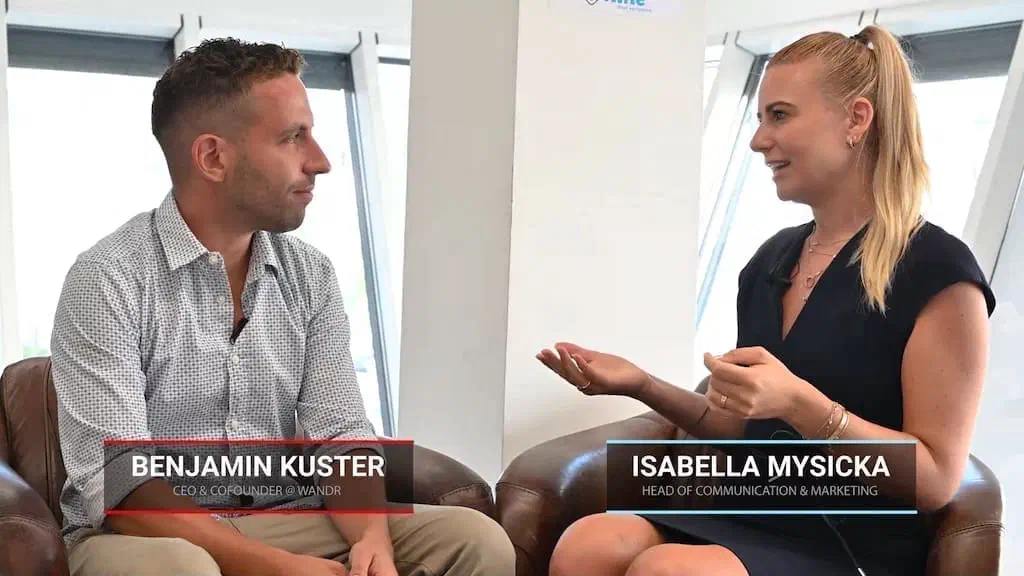
Benjamin Kuster, Sales Development Executive at nine who reduced his work quota to 20% to found a …

Managed Service Providers are indispensable service providers and partners for a large number of …
The Google Cloud Meetup #5 took place on 25 August 2020 in Zürich City in the cafeteria of nine. …

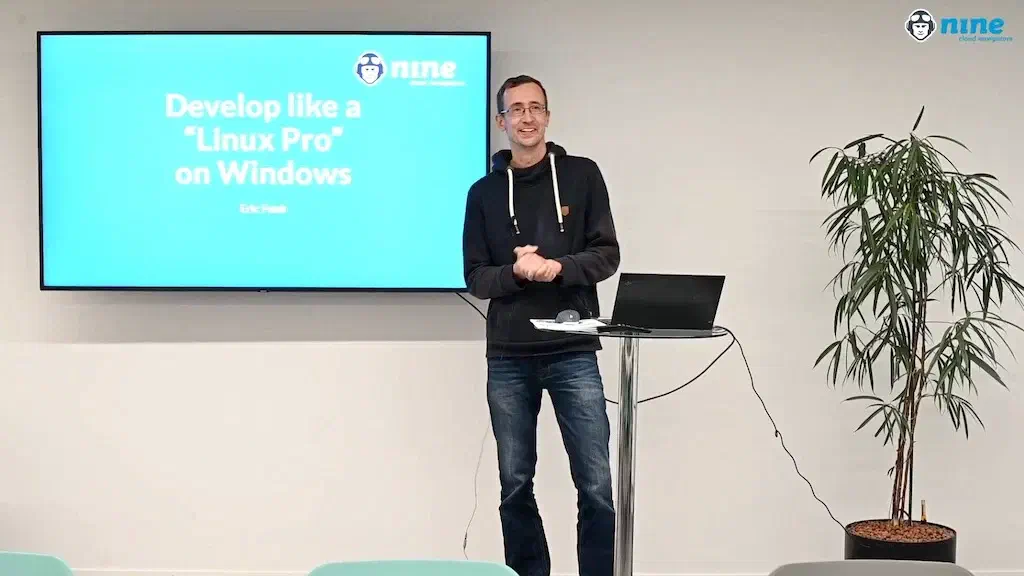
Virtualization, containers and cloud computing have fundamentally changed the development and …

Cloud computing has been established for a long time. The advantages over the classic supply of IT …

We quite often receive requests like: Do you support Docker? These requests kept growing, and …
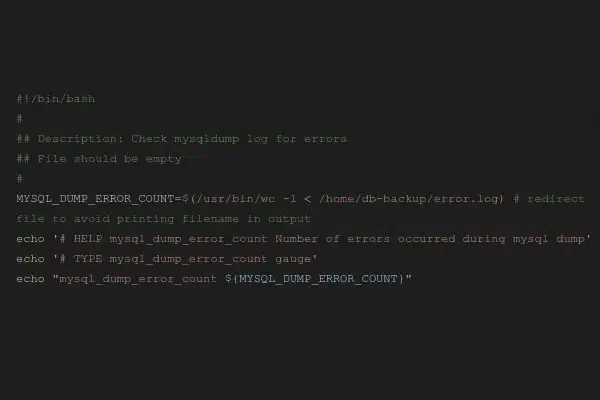
After having previously introduced our new monitoring system Prometheus in this blog, which replaced …

Clouds are servers, or networks of servers, on which corporate applications or services are provided …
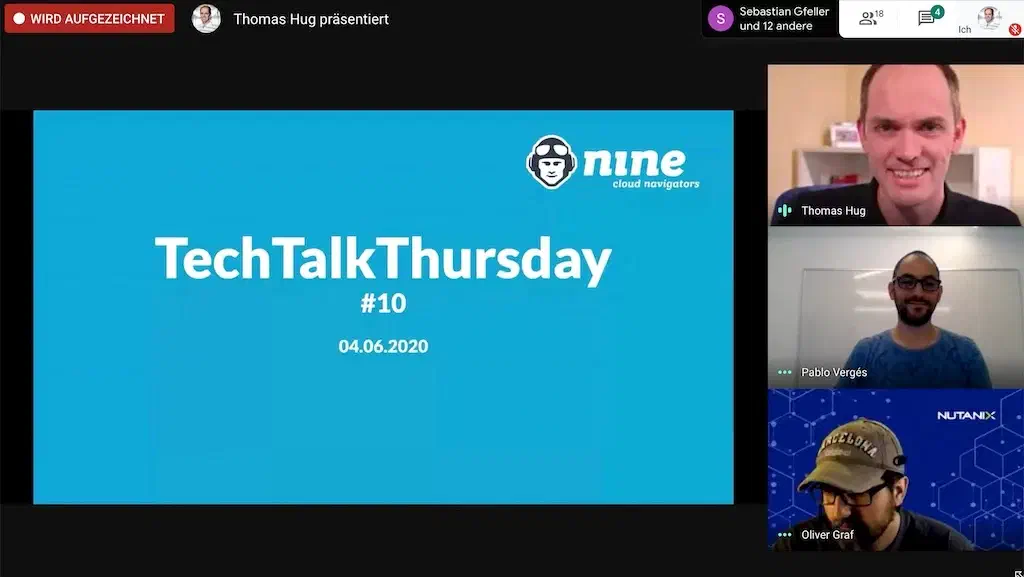
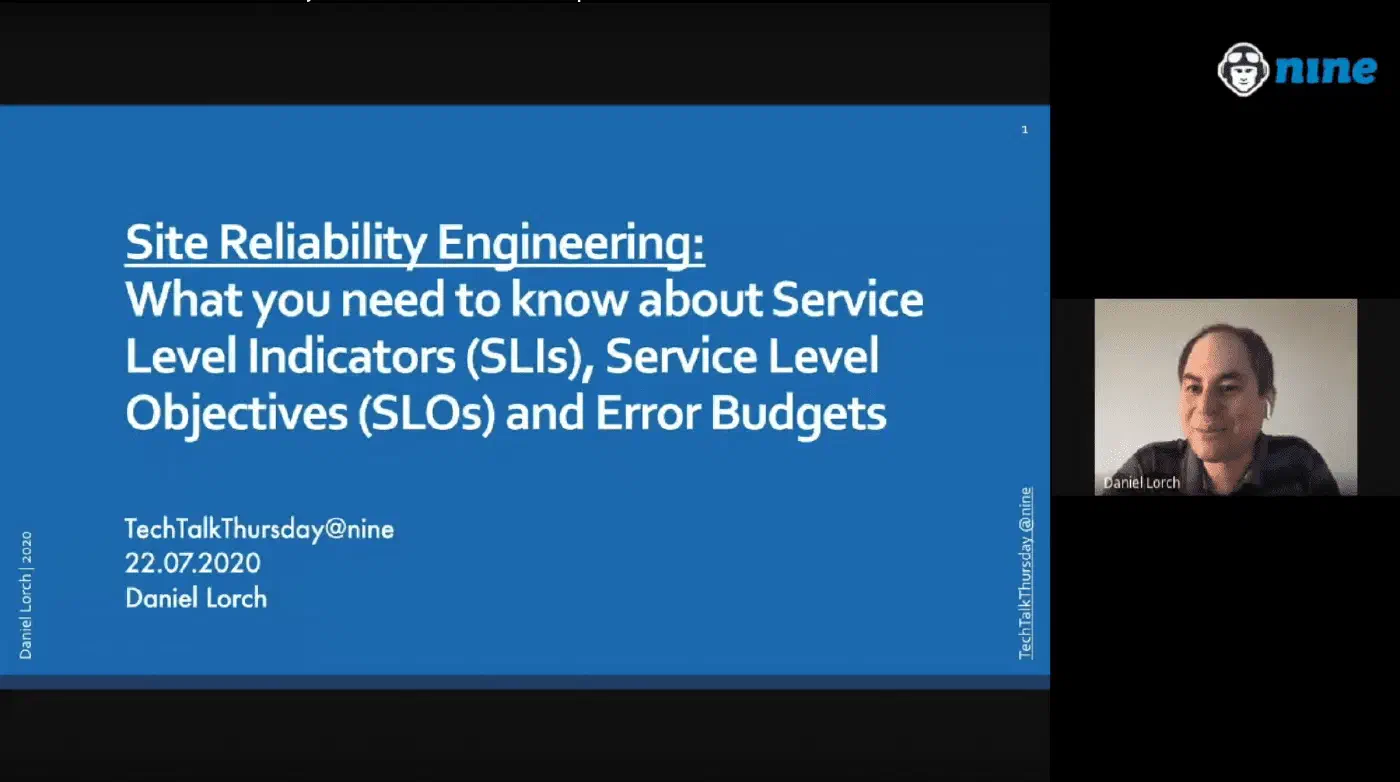
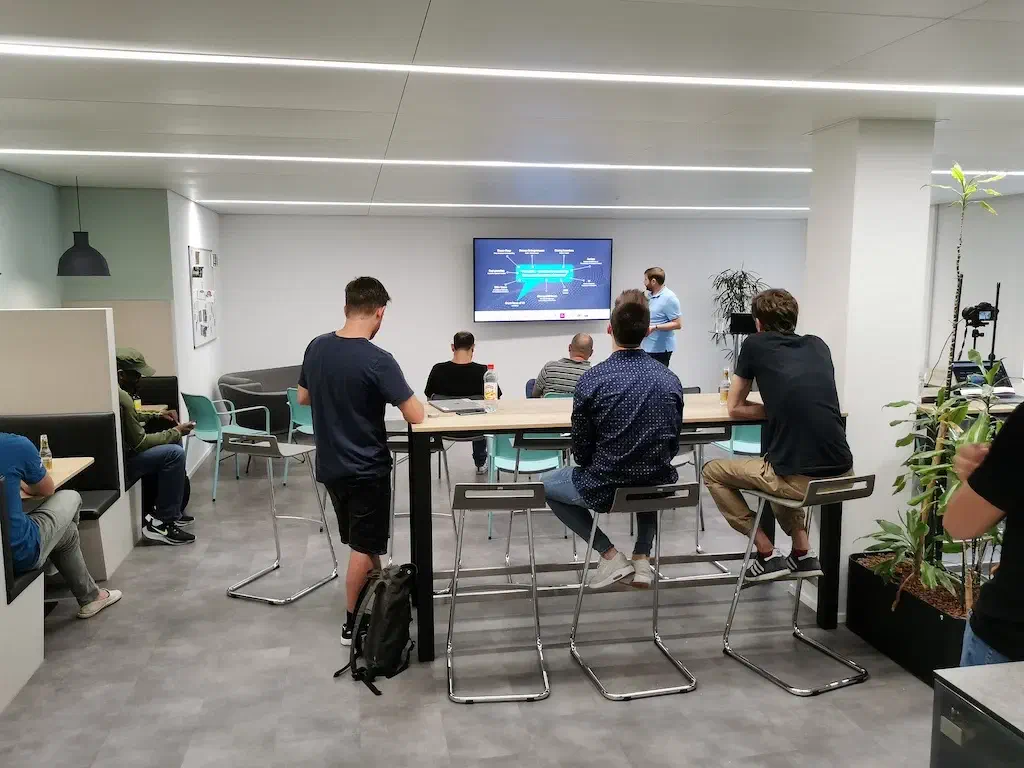
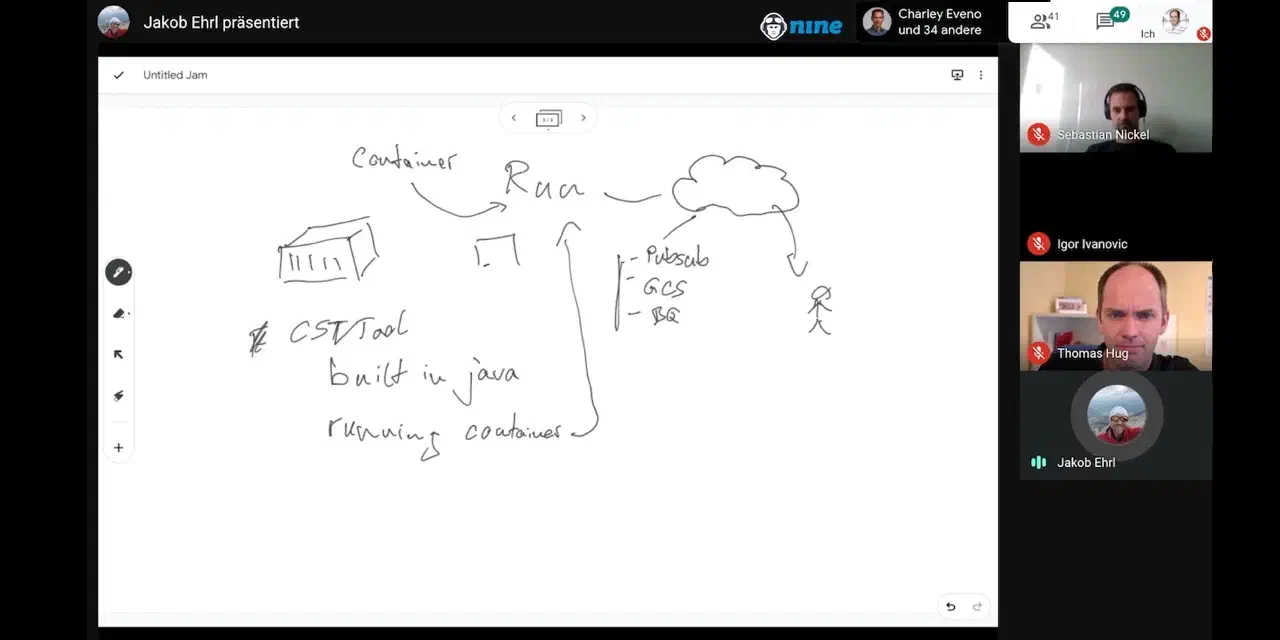
Our TechTalkThursday took place on the 4th of June at 18:00. As Corona is not yet over and since we …
The Google Cloud Meetup #4 took place on 19 May 2020 for the first time on Google Meet. In …

Processing authoritative requests As every now and then we receive requests by authorities to …
In late 2024, swissICT faced an unexpected crisis: the previous operator of the ICT Salary Survey …
We supported Peak Privacy in designing and building a specialized server infrastructure for LLM …

We helped Renuo AG to smoothly transition everything that was running on Heroku to Deploio, our own …
We helped mühlemann+popp to smoothly realise the migration from the Google Cloud to the Nine …
We supported healthinal with the implementation of a new monitoring system based on Managed …
We have been instrumental in helping cab to implement an outstanding hosting solution that offers …

We helped Stadler Form to find the right technical solution. At the same time, there were some …
Nine operates the reliable and stable infrastructure for PUPIL, an all-in-one solution for digital …
Nine operates the highly available infrastructure for the Ayyah software based on the Nine …
Nine was involved in the project with consulting and implementation services and support. According …
Through workshops, consulting, and their Kubernetes service stack, built atop GKE, Nine helped …
Clientis needed a solution to satisfy the requirements of the Swiss Financial Market Supervisory …
Through comparis.ch, users can compare everything from health insurance schemes and insurance …
With our Root Servers, the Swiss Red Cross achieves complete independence on an efficient …
When outsourcing the hosting of www.mobiliar.ch and other web projects as part of its brand …
New market conditions, new requirements for their product range: containerizing their software has …
With the Managed Virtual Servers, HUG AG benefits from an all-round carefree package including …

Nine provided the expertise, training and optimisation. Through workshops, consulting, and their …
Nine provided the expertise through workshops, consulting, and the services built atop GKE. All …
The Dr. Marc Rutschmann AG is using Managed Kubernetes for creating and managing customer web pages.
We regularly share news, insights, background reports, and recommendations on new technologies, market trends in cloud computing and IT infrastructure, product innovations, and our company.
Do you have questions about our products? No problem. Contact our sales department or go directly to your Cockpit to see all the possibilities at Nine.
